Setting up Drizzle ORM with PlanetScale for Your Next.js 13 App

Avoid all these issues by going with an opinionated SaaS starter kit which tells you how to do things. I stand by Makerkit. You can 10x your speed from idea to creation. Now, you can actually start building instead of dreaming.
Today, we'll go through integrating Drizzle ORM with PlanetScale for your Next.js 13 application. By the end of this guide, you'll have set up an efficient ORM with a scalable database ready for your Next.js project!
Straight to The Point
Prefer to skip the tutorial and go straight to the code? I've created a GitHub template you can check out.
Getting Started with Your Next.js App
First off, let's create a fresh Next.js application. You can use the following commands based on your package manager of choice:
Using npm:
npx create-next-app@latest
Using yarn:
yarn create next-app
Installing the Necessary Packages
Once you've initialized your Next.js app, proceed to install the required packages:
Using npm:
npm i drizzle-orm @planetscale/database dotenv
npm i -D drizzle-kit
Using yarn:
yarn add drizzle-orm @planetscale/database dotenv
yarn add -D drizzle-kit
Configuring TypeScript
Open your ts.config file and ensure that the target is set to esnext. This is to avoid the error 'Transforming const to the configured target environment ("es5") is not supported yet'. It should look like:
"target": "esnext"
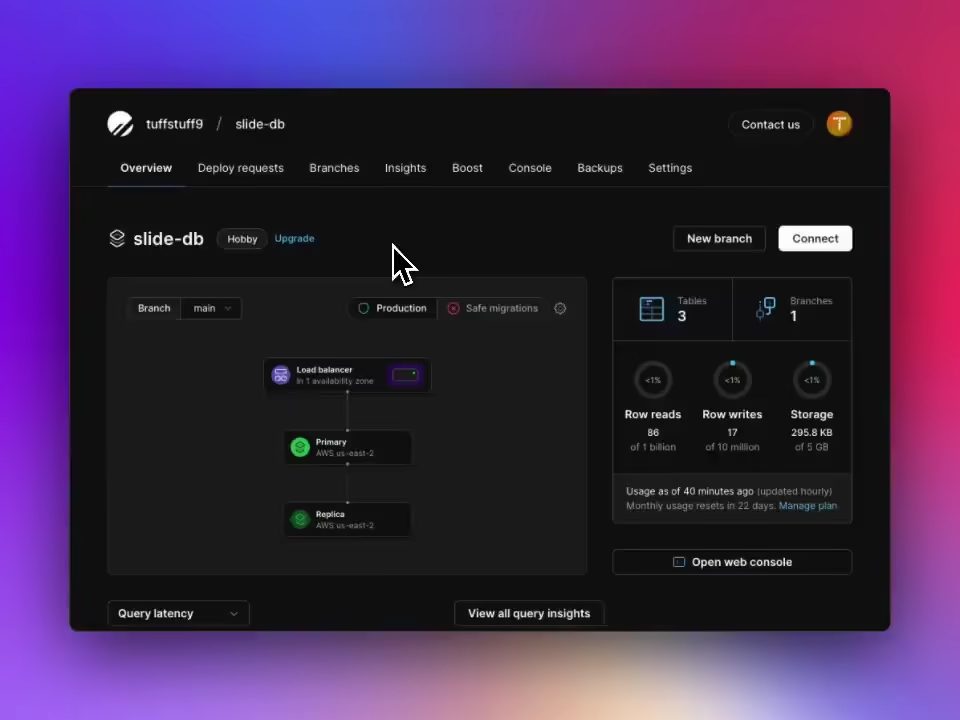
Setting Up PlanetScale
Next, head over to PlanetScale and create your database. In the Overview tab:
Click ‘Connect’.
Select 'Create Password'.
For the ‘Connect with’ dropdown, choose ‘Prisma’. Although we are setting up Drizzle, we need the DATABASE_URL for our
.envconfiguration.Copy the connection string which should resemble:
DATABASE_URL='mysql://***************@aws.connect.psdb.cloud/test?sslaccept=strict’
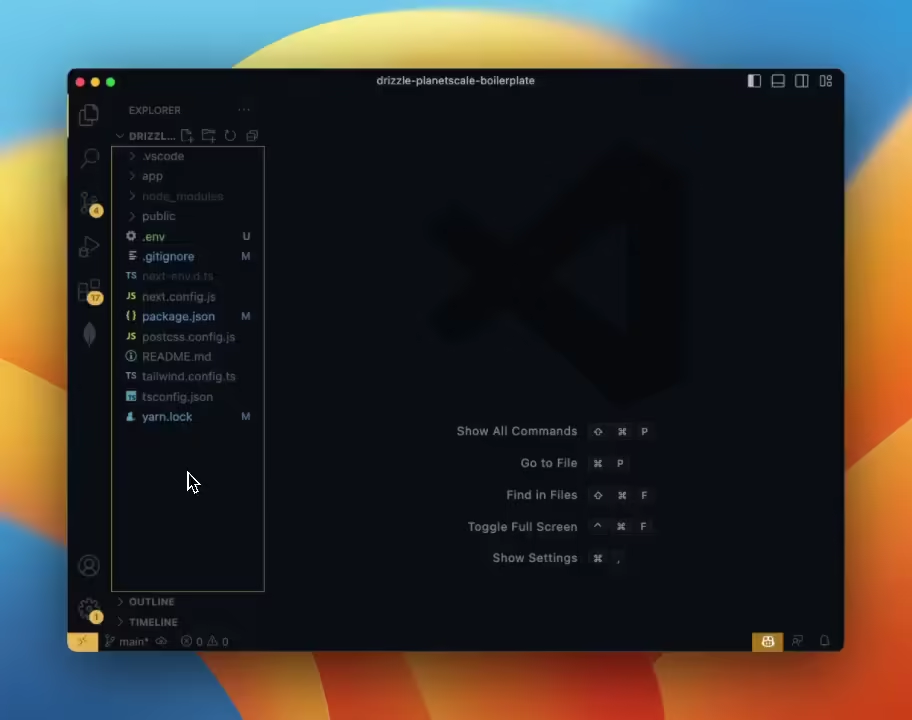
If you don't have an .env file in your project root, create one now. Modify the copied connection string by replacing ?sslaccept=strict with ?ssl={"rejectUnauthorized":true} and add it to your .env file.
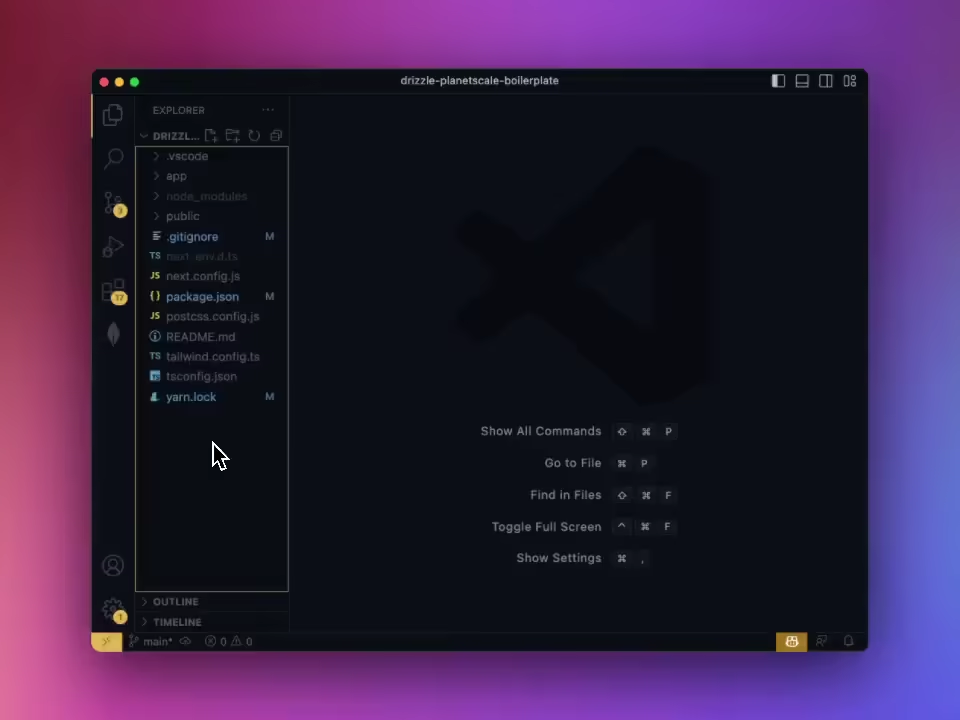
Setting Up Database Schema
Now, within your project root, create a directory structure: /lib/db. Inside that, establish three entities: schema.ts, index.ts, and a migrations folder.
For this tutorial, let's define a simple user schema. Place the following code in schema.ts:
import {
    mysqlTable,
    serial,
    timestamp,
    varchar,
} from 'drizzle-orm/mysql-core';

export const users = mysqlTable('users', {
    id: serial('id').primaryKey().notNull(),
    name: varchar('name', { length: 256 }),
    email: varchar('email', { length: 256 }),
    createdAt: timestamp('createdAt', { mode: 'string' }).defaultNow(),
});
And for index.ts, input:
import { drizzle } from 'drizzle-orm/planetscale-serverless';
import { connect } from '@planetscale/database';
import * as schema from './schema';

const connection = connect({
    url: process.env.DATABASE_URL,
});

export const db = drizzle(connection, { schema });
Configuring Drizzle
In the root of your project, create a file named drizzle.config.ts. Here, we'll specify some essential configurations:
import type { Config } from 'drizzle-kit';
import 'dotenv/config';

if (!process.env.DATABASE_URL) {
    throw new Error('DATABASE_URL environment variable is required.');
}

export default {
    schema: './lib/db/schema.ts',
    out: './lib/db/migrations',
    driver: 'mysql2',
    dbCredentials: {
        connectionString: process.env.DATABASE_URL,
    },
} satisfies Config;
Ensure that the paths for schema and out are accurate.
Pushing to Your Database
Once everything's in place, run:
Using npm:
npm run drizzle-kit push:mysql
Using yarn:
yarn drizzle-kit push:mysql
Excellent! Your Next.js app is now configured with Drizzle ORM and PlanetScale.
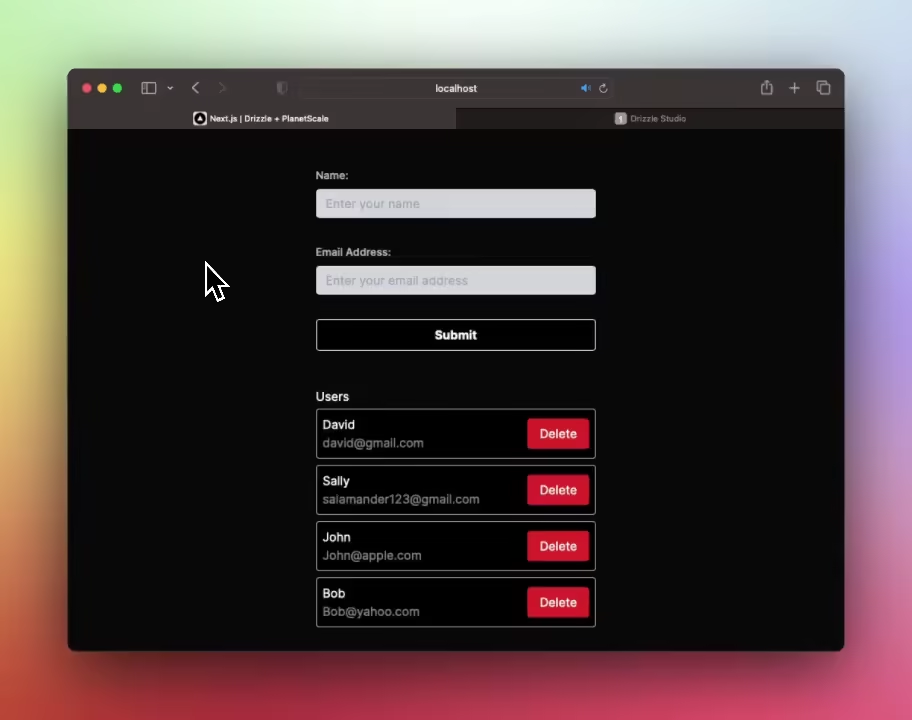
To get you up and running faster, I've created a GitHub template that encapsulates this setup. This template utilises Next.js server actions, Drizzle ORM, TailwindCSS and PlanetScale. It's a great starting point to learn about the new experimental features like server actions and useFormStatus. You can see it in action below:
I hope you've found this guide helpful - feel free to follow me on Twitter!


